Windows 11/10] Troubleshooting - Automatic Repair (Startup Repair) on Boot
Applicable Products: Notebook, Desktop, All-in-One PC, Gaming Handheld
Automatic Repair is a Windows feature designed to assist in resolving operating system and software issues to ensure the stability of your device. When your Windows operating system encounters errors, problems, or crashes, the Automatic Repair feature will attempt to automatically detect, identify, and fix these issues. For further automatic repair details, you may refer to the official documentation provided by Microsoft.
If you're experiencing any of the following symptoms of Automatic Repair, here are some common troubleshooting methods to help you resolve the issue:


Screen stuck on the black screen with "Preparing Automatic Repair"
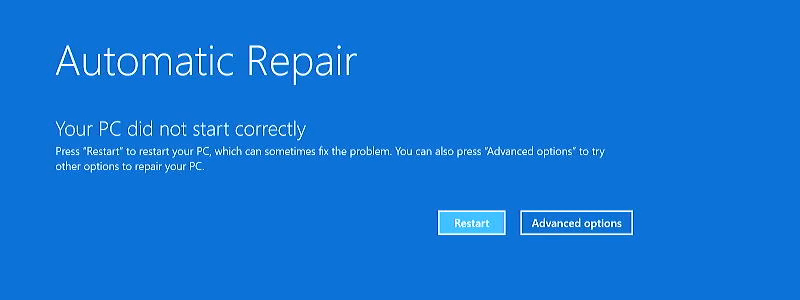
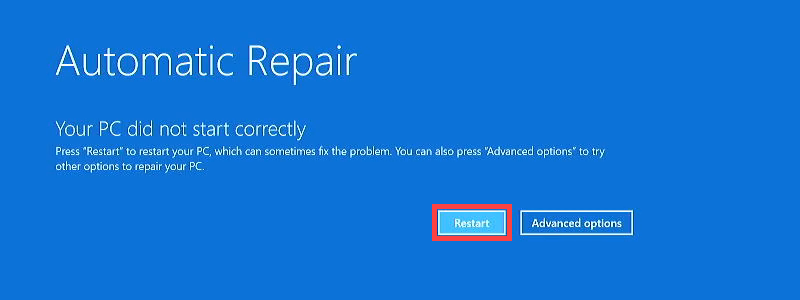
Generally, when your device displays "Preparing Automatic Repair," it should proceed to "Diagnosing your PC," and you might then see a blue "Automatic Repair" or "Recovery" screen.
However, if the screen remains stuck on the black screen with "Preparing Automatic Repair" for an extended period, you can try the following solutions:
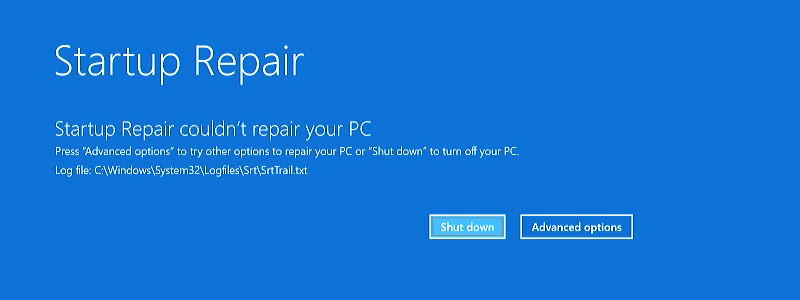
Solution 3: Run Startup Repair
- Manually boot your device into the Windows Repair Environment (WinRE). When your device hasn't booted, press and hold F9
 on your keyboard, then press the Power button
 to start your device.
Note: Some models may require F12 on the keyboard to enter the Windows Repair Environment. If F9 doesn't work, use F12 instead of F9 to enter the Windows Repair Environment.
Hold F9/F12 until you see the Windows Repair Environment screen.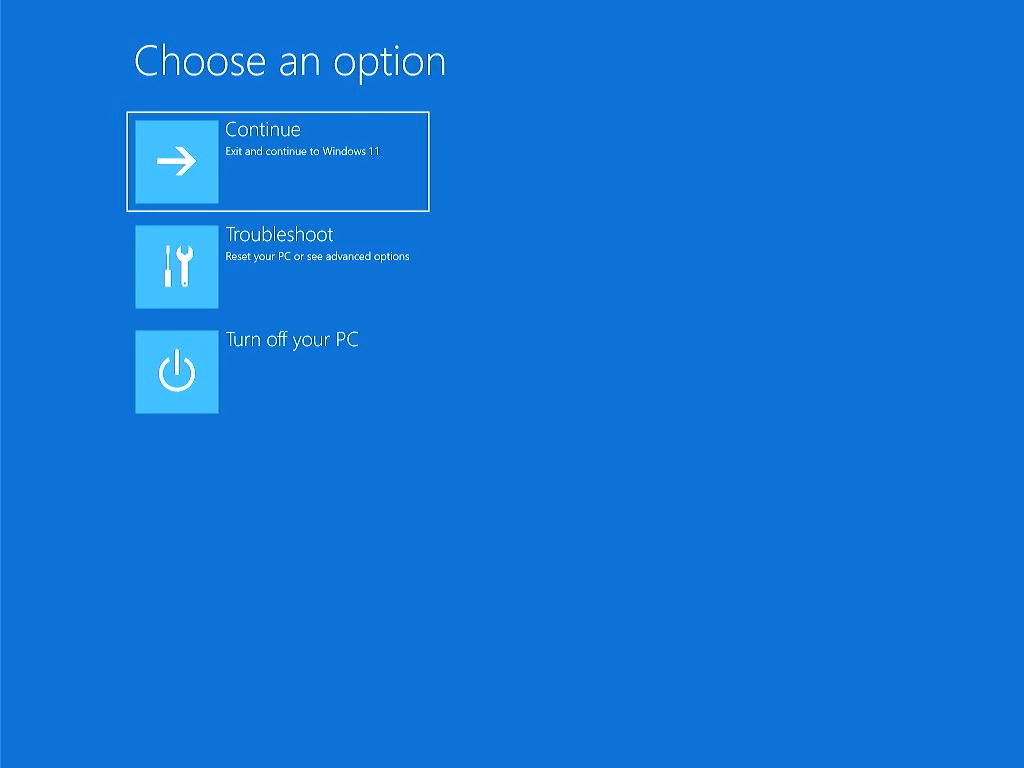
Note: After two failed system boot attempts, the third boot will guide the device to the Windows Repair Environment. If you can't enter the Windows Repair Environment using the keyboard method, you can also try the following steps:
A. After your device starts, press and hold the power button for 15 seconds to force the device to shut down.
B. Press the power button again to turn on the device.
C. After the ASUS logo first appears on the screen, press and hold the power button for 15 seconds to force the device to shut down.
D. Press the power button again to turn on the device.
E. When Windows restarts, press and hold the power button for 15 seconds to force the device to shut down.
F. Press the power button again to turn on the device.
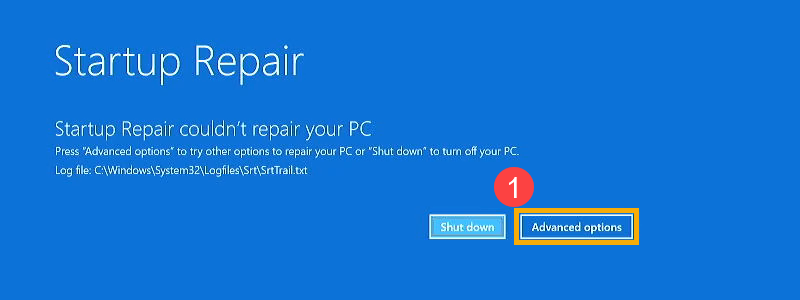
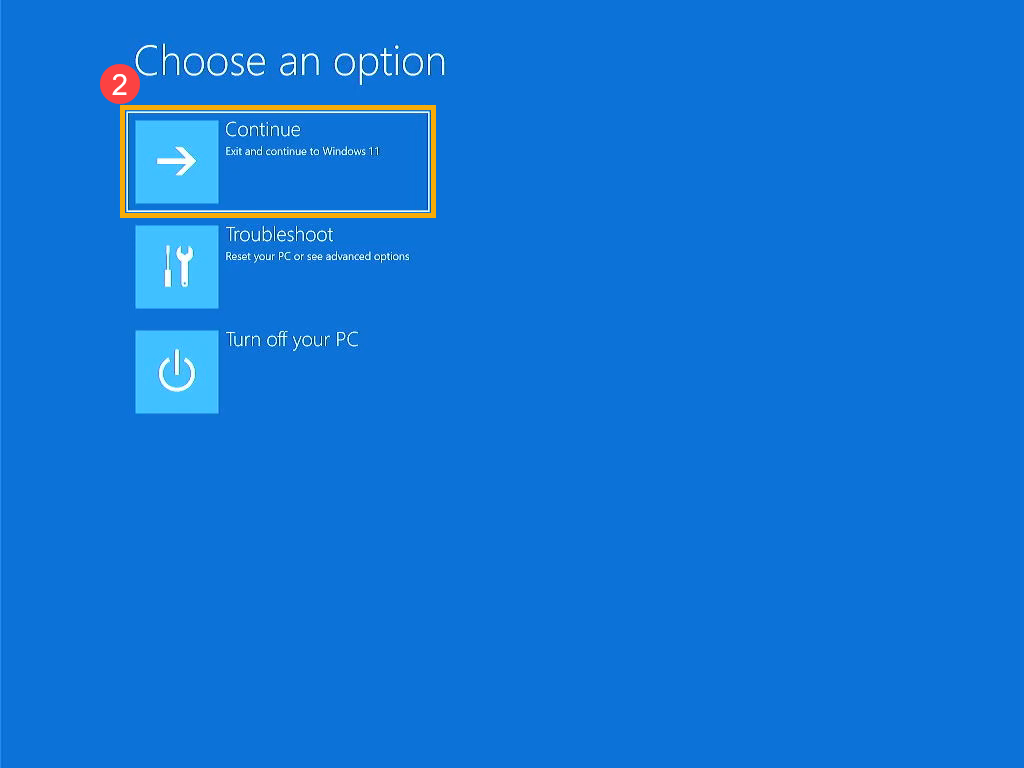
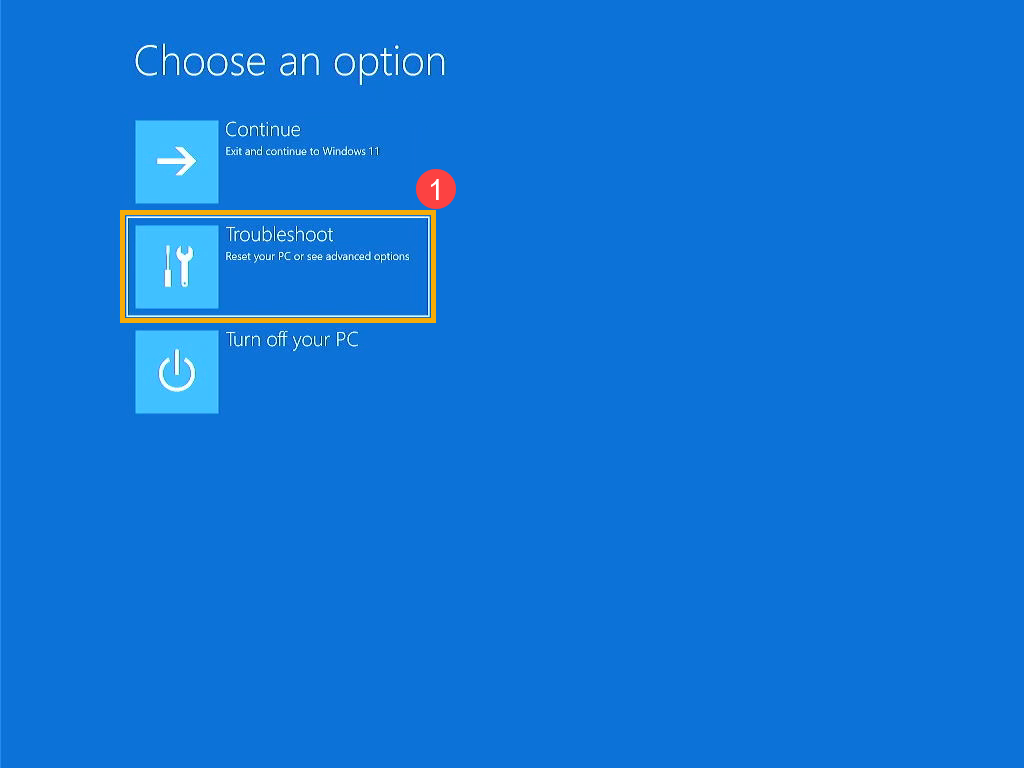
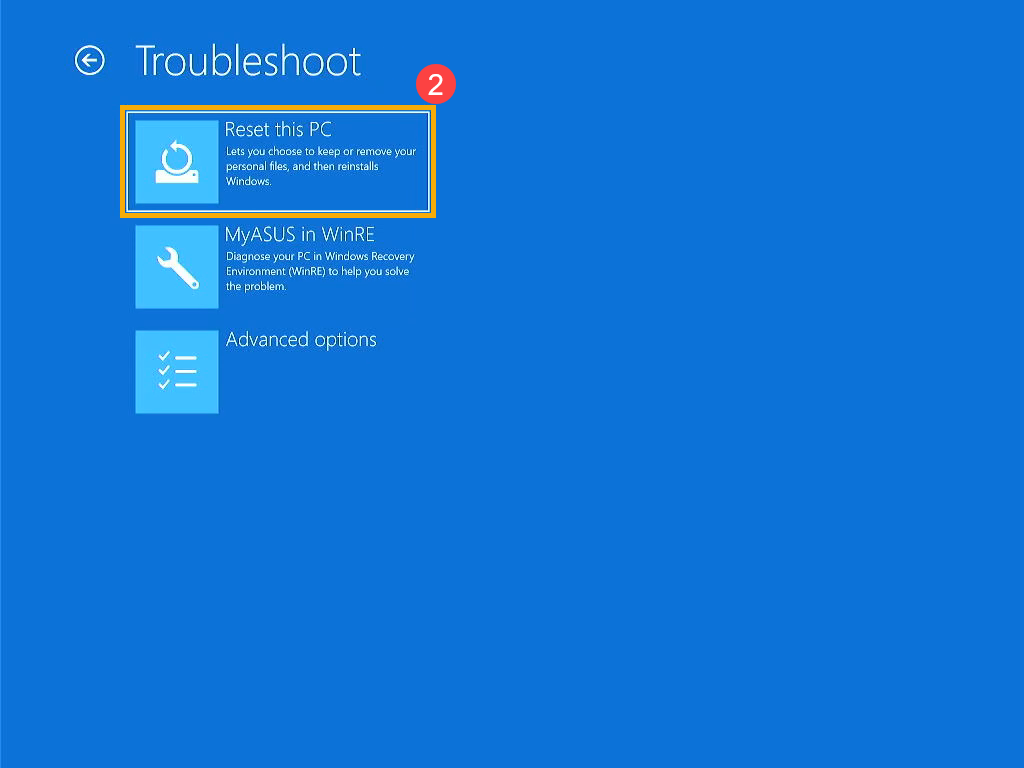
G. Your device will fully reboot and enter the Windows Repair Environment. - In the Choose an option screen, select [Troubleshoot]①.
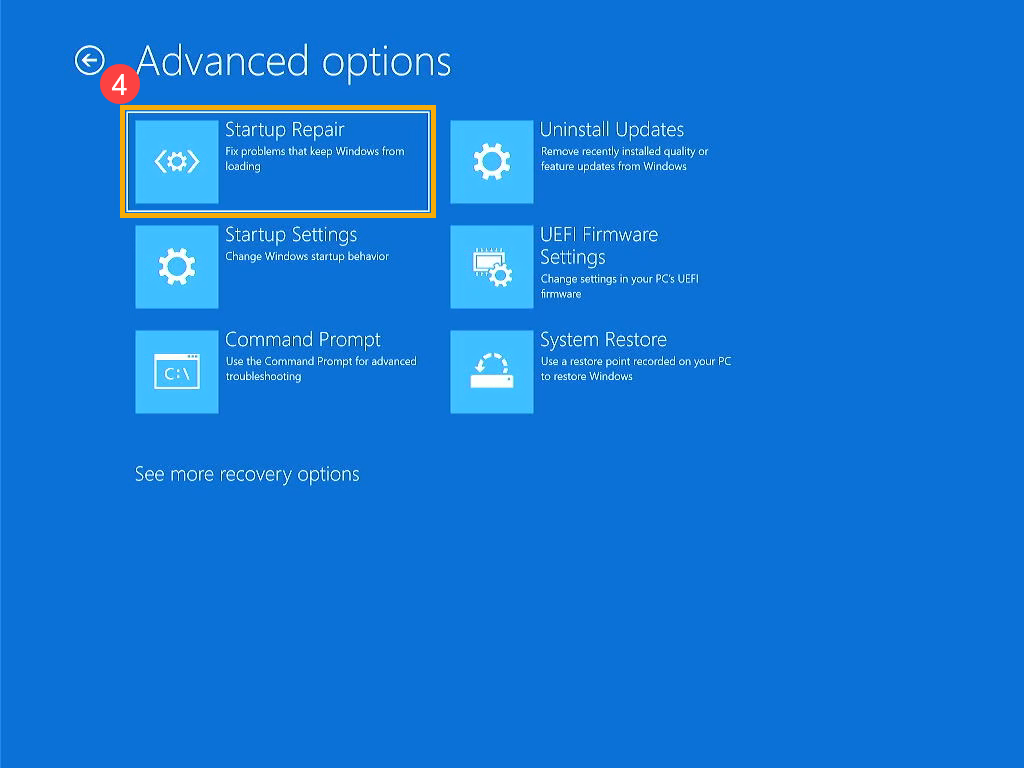
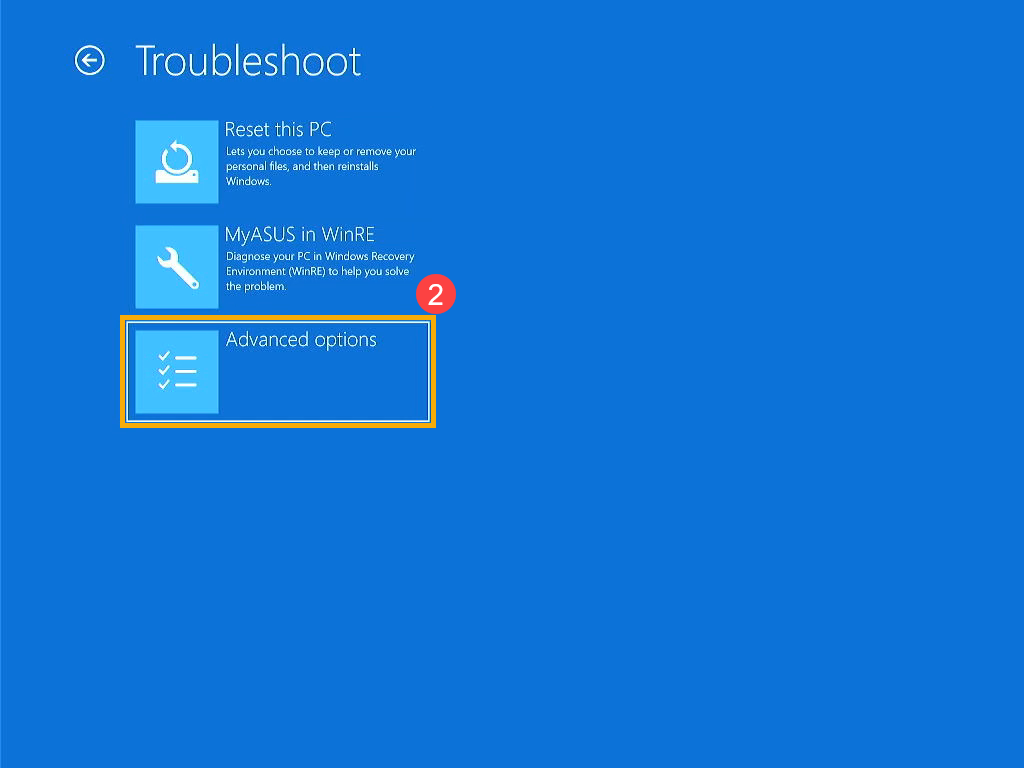
- In the Troubleshoot screen, select [Advanced options]②.
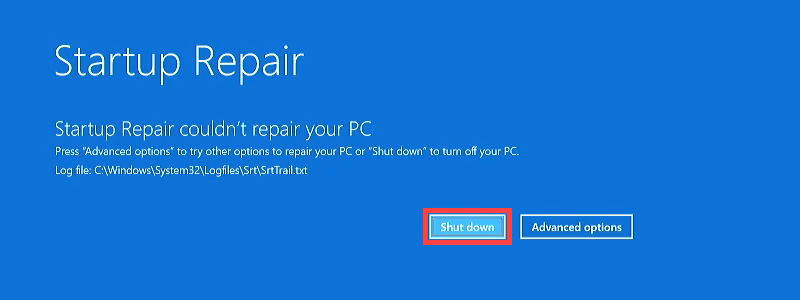
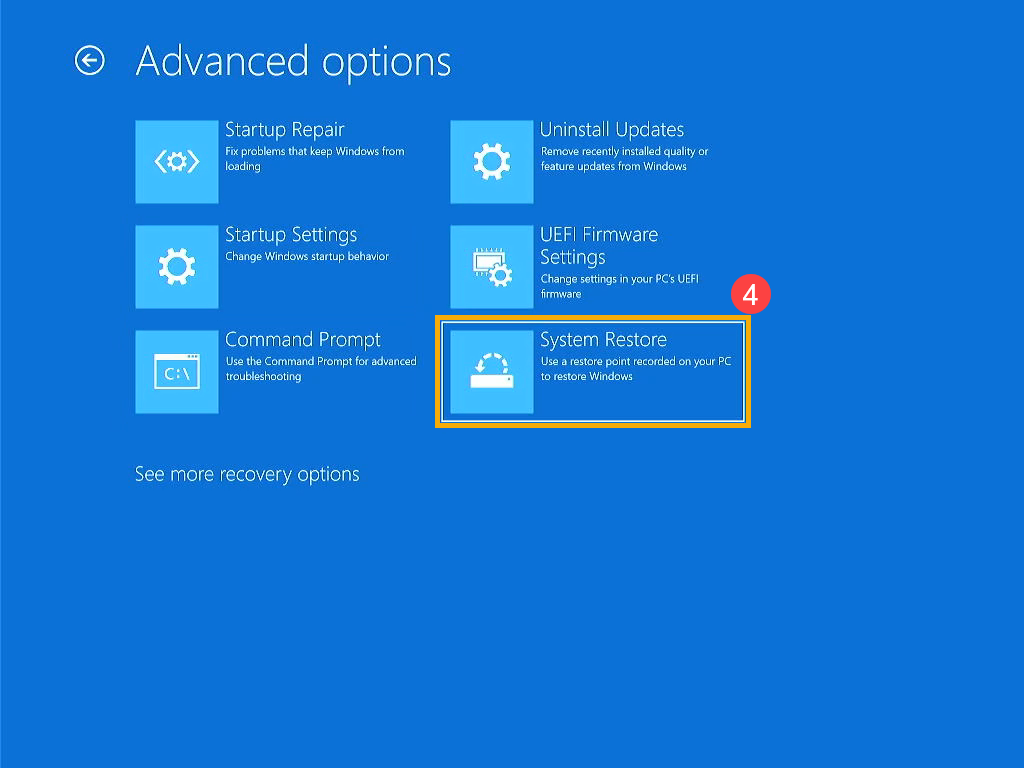
- In the Advanced options screen, select [Startup Repair]③. Follow the on-screen instructions; Windows will attempt to locate and repair issues.
If your device can boot into Windows after the restart, make sure to update the BIOS, Windows updates, and drivers to their latest versions to prevent future issues.
If you still cannot access the Windows operating system, proceed to the next solution. - Update BIOS, Windows updates, and drivers:
Software updates often improve system stability and optimization, so it's recommended to regularly check for the latest versions for your device. Learn more about how to update BIOS:
How to update the BIOS version in Windows system
How to use EZ Flash to update the BIOS version
(For desktop products, please refer to ASUS Motherboard EZ Flash 3 Introduction.)
For executing Windows update and drivers update, here you can learn more about:
How to execute Windows Update
How to update drivers via System Update in MyASUS

If your issue remains unresolved, please contact ASUS Customer Service for further assistance.
- Above information might be partly or entirely quoted from exterior websites or sources. please refer to the information based on the source that we noted. Please directly contact or inquire the sources if there is any further question and note that ASUS is neither relevant nor responsible for its content/service
- This information may not suitable for all the products from the same category/series. Some of the screen shots and operations could be different from the software versions.
- ASUS provides the above information for reference only. If you have any questions about the content, please contact the above product vendor directly. Please note that ASUS is not responsible for the content or service provided by the above product vendor.
- Brand and product names mentioned are trademarks of their respective companies.

- Get link
- X
- Other Apps
- Get link
- X
- Other Apps
Comments
Post a Comment